
What is Facebook Payment Threshold?
A Facebook payment threshold refers to the credit limit that Facebook provides for post-payment accounts. It represents the amount you owe Facebook for running ads on their platform. Your account’s credibility influences the payment threshold – more credible accounts have higher thresholds.
Initially, your payment threshold might be set low. After successful payment, you can request an increase.

As an example, let’s say that you just created your first ad and your ad account has a payment threshold of USD 25. As your ad runs, it accrues costs. If your outstanding ad costs reach USD 25, we charge you USD 25.
Once your payment has gone through, your balance is cleared, your payment threshold may be raised to a new, higher amount. You’ll start accruing costs again as your ad continues to run.
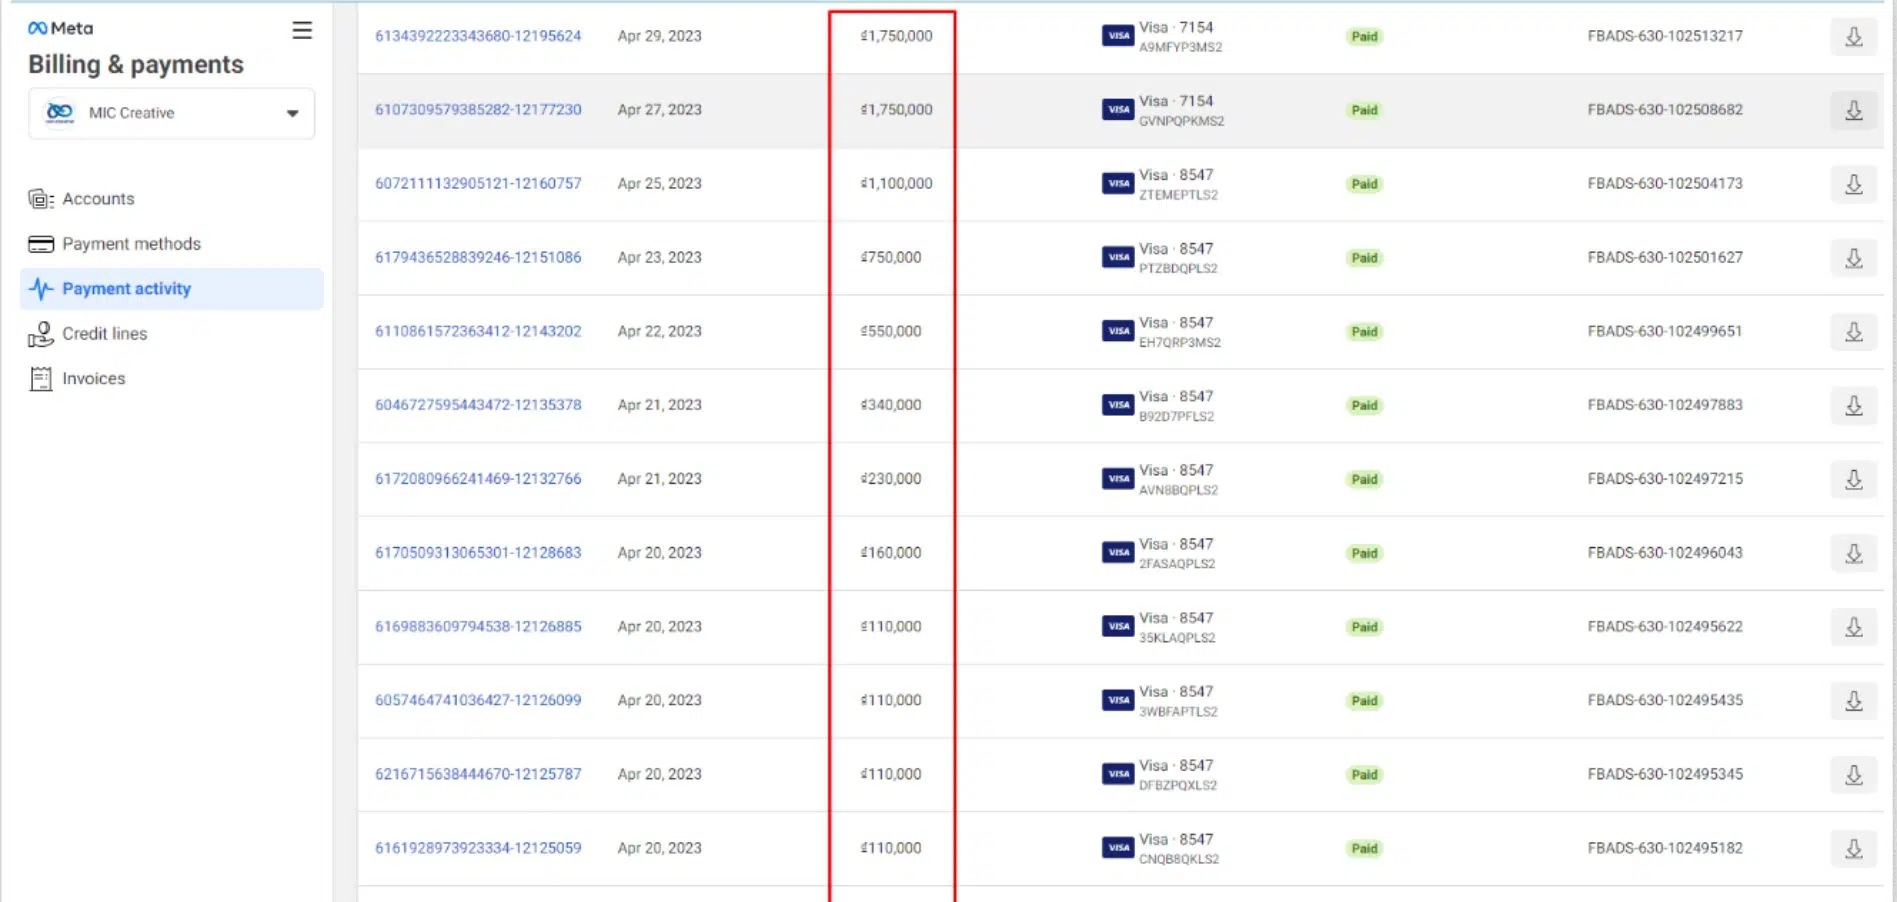
So, in a monthly billing period, you could reach your payment threshold once, multiple times or not at all, depending on what your payment threshold is and how much money you’re spending on ads. This is why you may be charged multiple times in a given month even if you’re running just one ad. It’s also why you may be charged after you’ve purchased ads or even after you’ve stopped running them.
How Does Facebook Payment Threshold Work?
- When you start advertising on Facebook, your initial threshold is minimal (e.g., around $2).
- As you pay for ads, your balance decreases, and your threshold gradually increases. You may be charged multiple times in a month if your ad costs reach the threshold. Even if you pause ads, unpaid costs can still trigger charges.
- After payment, your balance is cleared, and your threshold may be raised to a new, higher amount.
- You continue accruing costs as your ad runs, and you might reach the threshold multiple times in a month, depending on your spending.
Why Multiple Charges?
- Even if you’re running just one ad, you may be charged multiple times in a given month.
- This happens because your payment threshold determines when you’re billed, and it’s possible to reach it more than once during a billing period.
- So, don’t be surprised if you see multiple charges—even after you’ve stopped running ads.
Increase the payment threshold for your Facebook advertising account
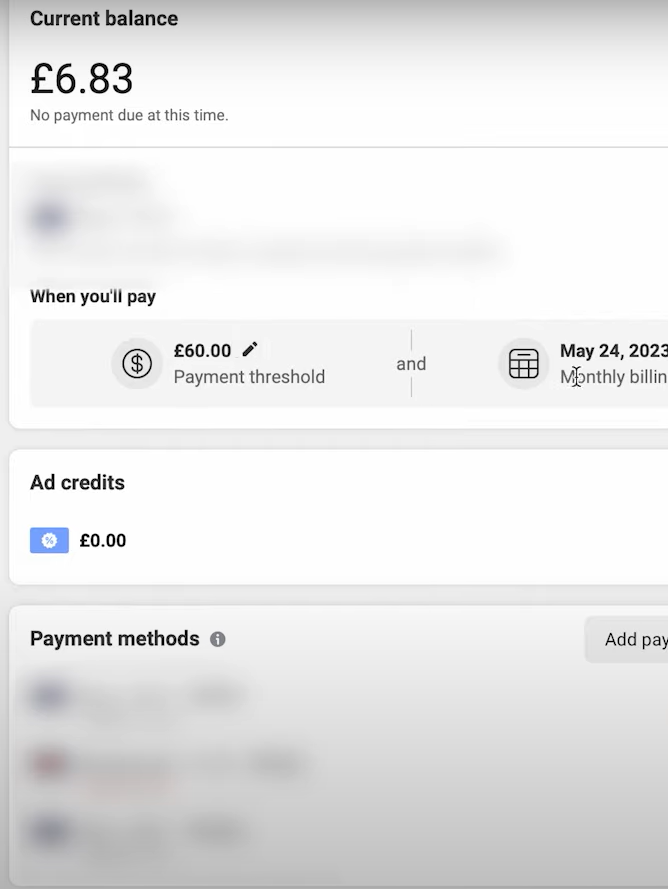
Step 1: Click directly on the link to request an increase in your Facebook payment threshold. After clicking the link, choose the account for which you want to raise the threshold. Under the section “What do you need help with?” click on “Payment Threshold.
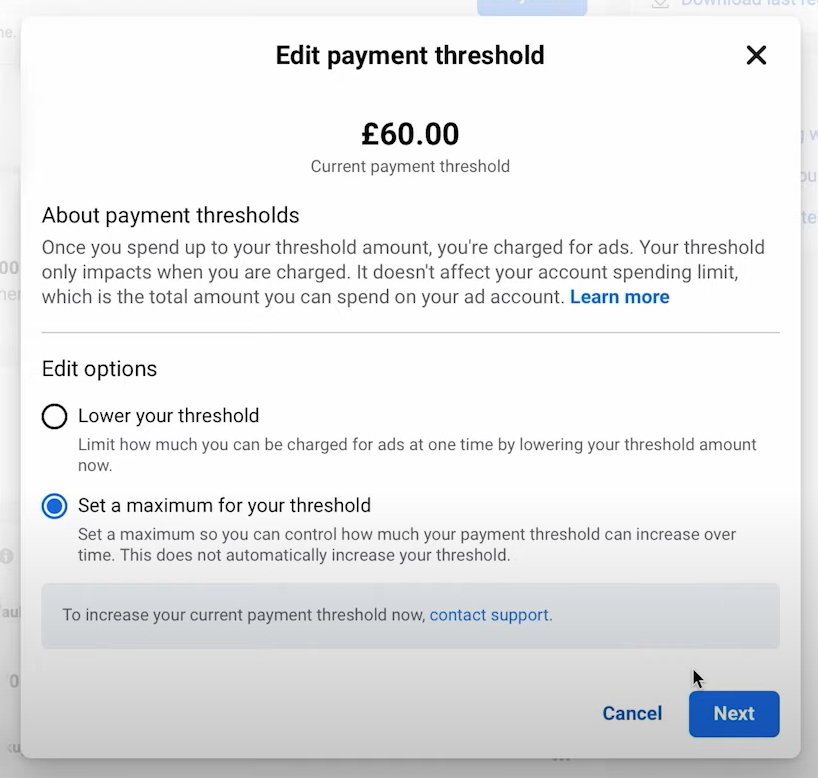
Step 2: Once you’ve clicked on the “Payment Threshold” line, the payment threshold interface will appear. Here, click on the pencil icon next to the payment threshold and select a new threshold higher than the current one.
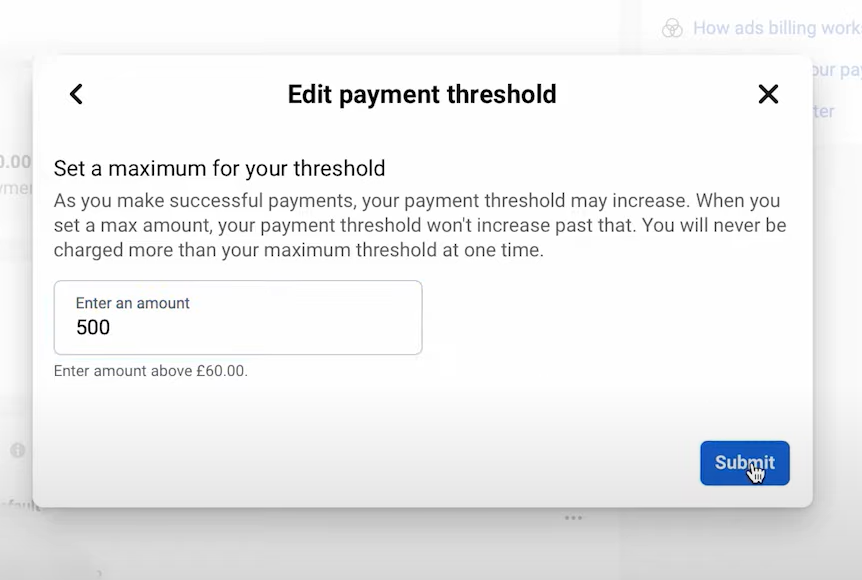
Step 3: After selecting an appropriate payment threshold, press “Submit” to confirm and complete the process.
Step 4: Once you’ve saved the threshold, click the “Pay Now” button to update your ads for Facebook’s review and to raise the advertising threshold.
After saving the threshold, click “Pay Now” to process the update. A popup confirming the successful update of your Facebook payment threshold will appear on the screen.
Chat Facebook Support Team
Step 1: Access https://facebook.com/business/help/support to get assistance with increasing your threshold, and click on the “Contact Ad Support” button.
Step 2: Choose “Other Issues.”
Step 3: Select the issue you are currently facing.
Step 4: Choose the account, fan page, or business page that requires support.
Step 5: Search for the term “threshold” in the search bar. Choose “I want to change my threshold…” If you can’t find this option, select any similar payment-related topic, and the Support team will guide you to the right specialist.
Step 6: Enter your contact information, then return to your personal Facebook page. You’ll receive a message from the Support team.